
How to use alerting
You can create custom alerts based on patterns or trends in your logs or metrics available on Cloud.gov Logs.
Receiving alerts from Cloud.gov Logs requires two steps:
- Setting up notifications for alerts
- Creating a monitor that defines when to alert based on your logs or merics
Availability
All plans have access to the Alerting plugin features of Cloud.gov Logs, but only customers with an active agreement can use email notifications.
Setting up notifications
To receive notifications from the logs system, you need to create:
- email sender – SMTP configuration for sending email from Cloud.gov Logs to recipients. After creating an email sender, you must contact support@cloud.gov to get email sending enabled.
- email recipient group - a set of recipient addresses for notification emails
- channel - configuration specifying a set of email recipients and email sender used to send the email
Creating an email sender
IMPORTANT: To enable email sending for your sender, you will have to email support@cloud.gov with your sender name after creating it.
-
From the OpenSearch navigation menu, select Notifications under Management
-
Select Email senders from the left sidebar menu
-
Click the Create SMTP sender button
-
Fill out the details of the SMTP sender:
- Sender name: A unique name for your sender, e.g.:
myagency-gov-alert-email- Note this name for sharing with support@cloud.gov as mentioned below
- The remaining fields must completed exactly as shown below
- Email address:
no-reply@log-alerts.fr.cloud.gov - Host:
email-smtp-fips.us-gov-west-1.amazonaws.com - Port:
2465 - Encryption method:
SSL/TLS
- Email address:
- Sender name: A unique name for your sender, e.g.:
-
Click the Create button near the button right of the page
-
IMPORTANT: To enable email sending for your sender, email support@cloud.gov with the name of your SMTP email sender.
Creating an email recipient group
- From the OpenSearch navigation menu, select Notifications under Management
- Select Email recipient groups
- Click Create recipient group
- Enter a meaningful name description. In the email textbox, add the email addresses that you wish to be included in the group. Currently, only email addresses with .mil and .gov email domains are allowed. Email addresses using .com domains are not supported at this time.
Creating a notification channel
- From the OpenSearch navigation menu, select Notifications under Management
- Choose Channels
- Click Create channel
- Provide a name and description for the channel.
- Under Channel Type, select email (Note: Cloud.gov does not support other channel types)
- Under SMTP sender, choose the email sender that you previously created
- Under default recipients, enter the chosen email group you previously created.
Setting up alerts
To get alerts based on queries of your logs/metrics, you must create a monitor that will define:
- What data to query and how to filter it
- What conditions should trigger an alert
- Where notifications for the alerts should be sent
Creating a monitor
To create a monitor:
- Open the OpenSearch navigation menu, then select Alerting under OpenSearch Plugins
- Click the Monitors link in the tabbed navigation near the top of the page
- Click the Create monitor button near the top right of the page
Then follow the instructions in each section below to configure the monitor.
Enter monitor details
- Enter a descriptive name for the monitor.
- Choose a monitor type based on the available options.
- Choose the monitor defining method. The "Visual editor" option should work well for defining most monitor queries using the user interace. The "Extraction query editor" option allows using a custom query.
- Select the schedule for the monitor to be run under Schedule
Select the monitor data
-
Under Indexes, enter the pattern for the type of logs you want to monitor:
- Application and service logs:
logs-app-*(this will match all indexes starting withlogs-app-) - Application and service metrics:
logs-metrics-*
- Application and service logs:
-
For the "Time field", choose
@timestamp
Configure the query
If you chose the visual editor monitor defining method:
- Select a metric to monitor. By default, the metric is a count of documents matching the query, but if you click Add metric you can configure the metric.
- Specify the the time range for the query
- Optionally, add data filters. For example:
- Add a
@cf.spacefilter to limit the query results to logs/metrics from a specific space
- Add a
- If you are creating a bucket monitor, enter a field for grouping the query results.
If you chose the query extraction editor:
- Enter a query in the OpenSearch DSL format
- Click Run to test your query
The query will be run on the schedule that you defined previously, so pay attention to "Monitor performance" results to ensure that your query performance is within reasonable limits.
See the OpenSearch documentation for examples of custom queries.
Add a trigger
-
Click the Add trigger button, then customize the trigger based on the chosen editor:
- For the visual editor, customize the trigger name, severity level, and trigger condition as desired. For more guidance, see the OpenSearch documentation.
- For the extraction query editor, see the OpenSearch documentation.
-
Under Actions, enter the action details:
- Customize the action name, message subject, and message as desired
- Under channels, select the channel that you previously created
- You can click Send test message to verify that you receive the email and that the contents look as expected.
-
Optionally, you can throttle the action so that it will only be activated and send alert messages at the specified intervals. To use action throttling:
- Under Action configuration, click the Enable action throttling checkbox
- Specify the number of minutes as interval for how often the action should be triggered and send alerts
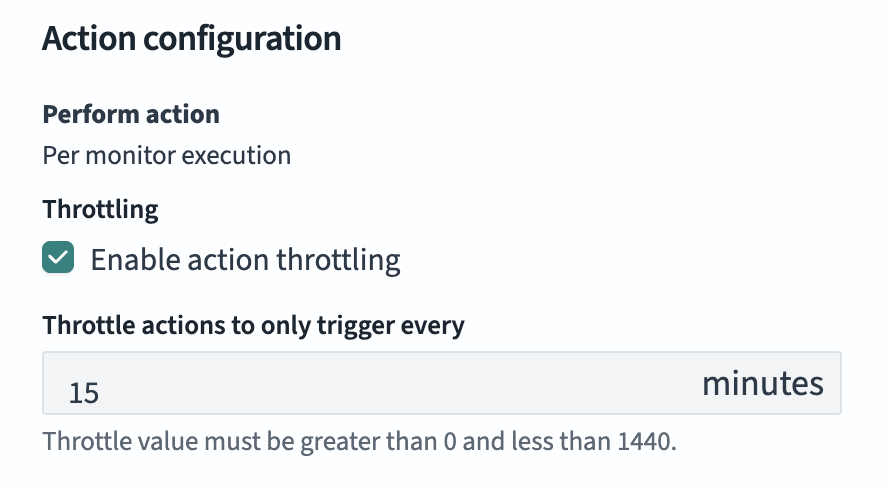
Example: if your alerting monitor is scheduled to run every 1 minute, but the action is throttled to trigger every 15 minutes, then in the first minute where where your monitor query returns
true, you will receive an alert. But you will not receive another alert until 15 minutes has elapsed. -
Click the Create button at the bottom right of the screen to finish creating the monitor and save it.
If and when the monitor evaluates that your trigger conditions are met, a notification will be sent to the defined channel.